
In a market like Dubai, where feeds are full of polished content, the photos on your listing are often a buyer’s first impression of you. You don’t need a production crew to look credible. With a modern smartphone, a basic shot plan, and a consistent visual style, agents can build a recognisable “look” that sells both the property and their personal brand.
In this Property Finder guide, we’ll focus on:
- How to plan and shoot property, neighbourhood, and lifestyle photos that feel on-brand
- How to include yourself in a few images strategically (not as constant selfies)
- How to edit and publish with free or low-cost tools in a way that looks cohesive and professional
Why your visual style matters in a scroll-first market
For many buyers in Dubai, the first “viewing” happens on a screen. They’ll see your photos on Property Finder, then on Instagram, TikTok, or WhatsApp before they ever step into a lobby. In a market where people make snap decisions while scrolling, your visuals quietly answer three questions: Is this agent professional? Do they understand this area? Do I trust them with a major purchase or rental?
Good photography is not only about showing the unit. It also signals your taste, attention to detail, and niche. Clean, well-composed images tell a different story than dark, rushed shots taken in five minutes. Over time, the style of your photos becomes part of your personal brand.
That brand is more than a logo or a colour on your business card. It is the way your listings look in the feed. Maybe it is bright, airy interiors and warm evening exteriors. Maybe it is calm, minimal framing with a focus on lines and light. When a client can recognise your work without seeing your name, you have moved from “another agent” to “the agent whose properties always look good.” And that is a powerful position in a competitive market.

Build your shot list: property, neighbourhood, lifestyle
A good brand starts with a repeatable shot list. If you know what you need before you walk through the door, you move faster, miss less, and your listings start to look consistently strong across Property Finder, Instagram and everything else.
1. Property shots: the core of your story
Think of these as your “must haves” for every listing. Aim for 3–5 strong images per key area rather than dozens of similar angles. Start wide, then go closer.
- Hero exterior. One clean shot that shows the building or villa clearly. Step back, keep vertical lines straight, and avoid busy foreground clutter like parked cars where you can.
- Entry and main living area. Take a wide shot from the doorway that shows layout and light, then one from the opposite corner. Add one detail shot that highlights something special: flooring, a feature wall, or built-in shelving.
- Kitchen. First, a wide shot that shows worktop space and appliances. Then a close shot of quality details such as fixtures, finishes, or integrated appliances.
- Bedrooms. Focus on proportion and calm. One wide shot that shows the bed and a window, then a secondary angle if it helps the room feel more spacious.
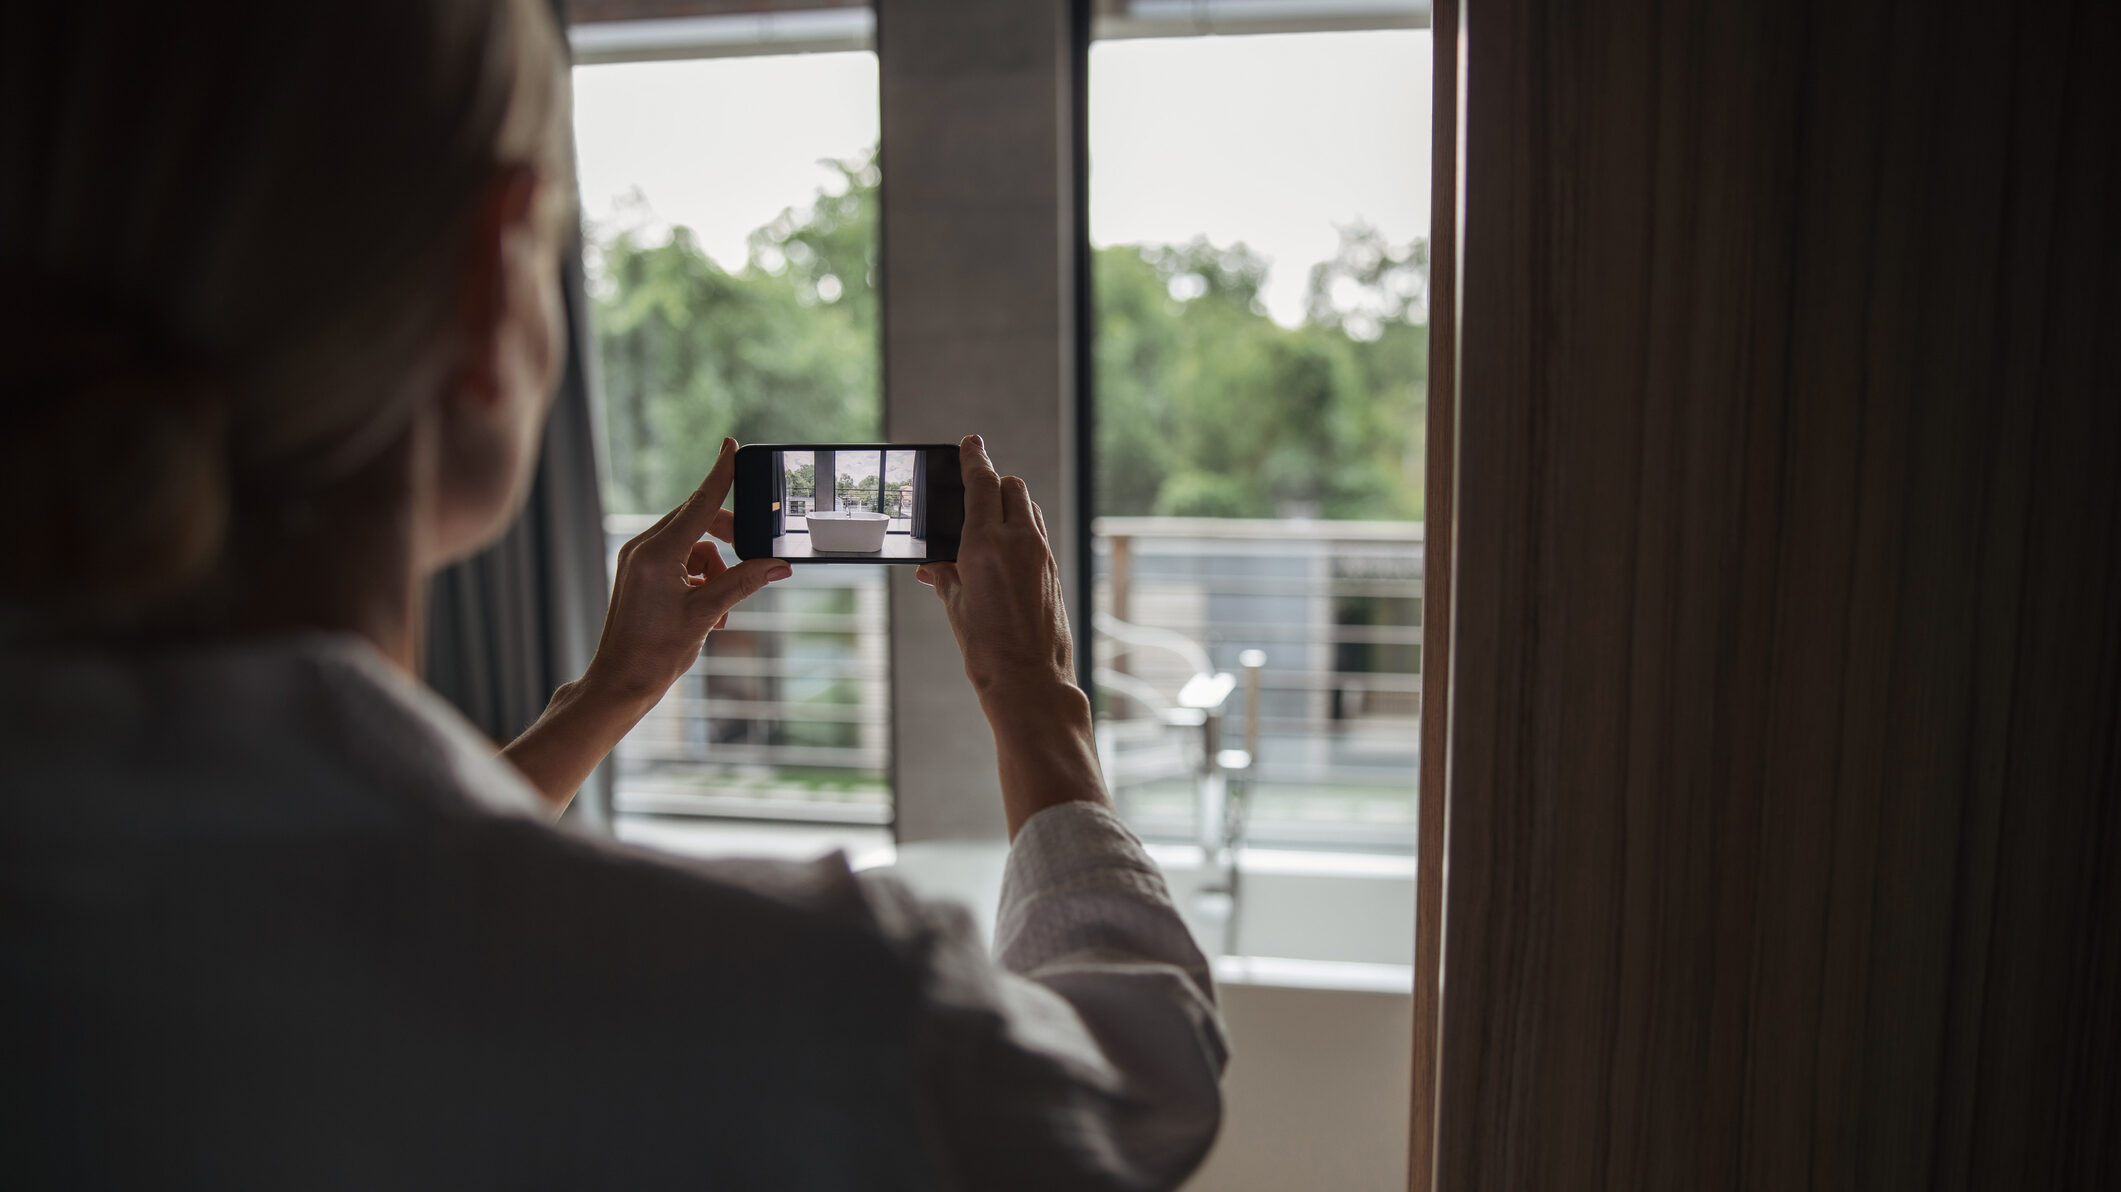
- Bathrooms. Bright, clean and simple. Shoot straight on or from the doorway, hide personal items, and make sure mirrors are not reflecting you or clutter.
- Balcony and other views. Capture at least one image from the balcony looking out, and one that shows how the balcony connects to the living space. No balcony? You can still capture the view with a nice picture of the garden or surrounding greenspace.
- Amenities. Pool, gym, lobby, kids’ area, co-working lounge, concierge desk. Two or three images are usually enough to tell the story of the building.
A simple rule: if a space will influence a decision to view, it deserves at least one wide shot and one detail.
2. Neighbourhood and community: sell the setting
Once you have the property covered, the next step is to show where life actually happens around it. In Dubai, the area is often as important as the unit. Neighbourhood visuals help your listing stand out and position you as a local expert.
Focus on what a resident would experience in a normal week.
- Landmark views. Marina skyline, Burj Khalifa line-of-sight, golf course, waterfront, parks. One clear, well-composed image that you can reuse for multiple listings in that community.
- Street-level scenes. A quiet residential street, palm-lined paths, a shaded walkway to the beach, or a well-kept park. Aim to show walkability and comfort, not traffic.
- Everyday convenience. One or two shots of nearby cafés, supermarkets, gyms, schools, nurseries, or metro and tram access. You are helping buyers picture their routine.
You do not need a full photo essay for each building. A small library of strong community images per area can support many listings and social posts.
3. Lifestyle and “you in the mix”
With the home and area in place, you can then add a lighter layer: you, showing that you are active in this market. You do not need to be in every frame, but a few well-planned shots with you in them can humanise your brand and signal that you are present on the ground.
Use these as supporting visuals for social media, agent profiles, and the occasional carousel, rather than for the main Property Finder image set.
Think about shots of you walking into the building with a folder or tablet as if arriving for a viewing, reviewing floor plans or documents at a kitchen island or dining table, standing on the balcony looking towards the view as if explaining it to a client, or working on your laptop or phone in a lobby or co-working space. The aim is to look like you are working, not posing.
Ask a colleague or friend to shoot 20–30 frames in one session across two or three properties. You can then reuse these for months in different posts. Keep clothing aligned with your segment (for example, sharper tailoring for luxury, smart-casual for mid-market) and let the property remain the focus.
Across all three categories, aim for a balanced set: 70–80% property and amenity shots, 10–20% neighbourhood, and only a small number of lifestyle images with you included. That mix keeps focus where it belongs, on the homes you represent, while still building a recognisable personal brand.
Once you know what you need to shoot, the next step is improving how you shoot it. Small changes in light, angles and consistency can make your photos feel much closer to professional work, even on a standard smartphone.

Shooting smart with a phone: light, angles, and consistency
Start with the light
Whenever possible, shoot in natural light. Open curtains, raise blinds and avoid mixing strong window light with very warm interior lighting, which can make rooms look patchy. Late morning or late afternoon often works best, when the sun is softer and you still have enough brightness. If a room feels dark, move around and see where the light falls most evenly, then build your composition from there.
Keep your angles honest and clean
Hold the phone at roughly eye level, not too high and not too low. Try to keep vertical lines (walls, door frames) straight rather than leaning. Most camera apps have a grid setting. Switch it on and use it to line up your shot. Avoid pushing the ultra-wide lens too far. It can be helpful in tight spaces, but extreme distortion makes rooms look unrealistic and can damage trust.
Declutter fast
Before you press the button, take thirty seconds to reset the space. Hide bins, wires, shampoos, magnets on fridges and anything that draws attention away from the room. Straighten chairs, smooth bedding, centre rugs. You are not aiming for a full staging session, just a clean, calm backdrop that lets the layout and finishes speak.
Give yourself options
For each key area, take two or three angles. One wide shot to show layout. One closer shot to highlight a feature or material. If you are unsure which works best, you can decide later when you see the images on a larger screen. This also helps you create different crops for Property Finder, Instagram feed posts and Stories without having to reshoot.
Build a simple “house style”
Finally, think about consistency. Use similar framing for living rooms across your listings. Choose one or two types of detail shot you always capture, such as handles, textures or views. Keep exposure, colour and horizon lines broadly similar from one property to the next. Over time, this becomes your visual signature. People may not notice every decision you make, but they will feel the overall effect: clear, honest, well-composed images that reflect a professional agent.
Editing on a budget: free apps and a simple style guide
Once you have a strong set of photos, simple editing is what makes them look like they belong together. You do not need advanced software. Free or low-cost apps are more than enough for most agents. They let you adjust brightness, contrast and colour in a controlled way, and save your settings so you can apply the same look to every listing.
Start by deciding on one base “look” for your brand. For most Dubai properties, that means slightly brighter exposure, clean whites, and neutral colours that feel true to life. Straighten the image so walls and door frames are vertical. Fix any obvious colour casts so tiles, walls and sky look natural rather than orange or overly blue.
The real time-saver is batch editing. Once you have adjusted one good photo from a set, use your app’s copy–paste or preset feature to apply those edits across the rest. You can still fine-tune individual shots, but your starting point is consistent. Over time, this gives your grid and your Property Finder listings a recognisable tone without extra effort.
A few guardrails keep things professional. Avoid heavy filters that change colours dramatically. Do not stretch rooms to make them look larger than they are. Never edit out real defects such as cracks, stains or nearby construction. The goal is to present the property at its best, not to mislead. Honest, well-edited photos build trust, which is ultimately what converts views into viewings.
Turning your photos into a consistent Instagram presence
Strong photos are only half the job. The other half is using them in a way that makes your profile feel clear, consistent and worth following. Think of Instagram as your public shopfront, not a random gallery.
Start with a few reliable post types and reuse them week after week:
New listing carousels.
Build a simple pattern. First image: strongest hero shot of the property. Second: best interior or balcony view. Third: one neighbourhood shot. Fourth: an optional image of you in the space. This mix sells the home, the area and your role in bringing it to market.
Neighbourhood spotlights.
Use the community images from your shot list to talk about an area, not just a unit. One post might focus on “Morning in Jumeirah Beach Residence” with photos of the promenade, cafés and beach access. Another might highlight schools, parks or metro links around a different listing. Over time, these posts position you as the person who really knows that part of Dubai.
Simple educational posts.
Turn your own photos into teaching tools. A clean kitchen shot can anchor “Three things I check in every kitchen viewing.” A balcony view can support “What this view doesn’t show you about noise and sun direction.” These posts are easy to create, and they show how you think, not just what you sell.
You do not need a complex content calendar. Aim for three to four posts a week, mixing these formats. For example: two listing carousels, one neighbourhood spotlight and one educational post. Stories and Reels can reuse the same images and spaces with short voiceovers or on-screen tips.
Captions are where you turn images into trust. Lead with something useful, not just “New listing, DM for details.” Explain who the home might suit, what is special about the layout, or how the location works in real life. Keep the call to action clear and calm: invite people to save the post, share it with someone looking in that area, or message you with a specific question.
If you keep showing up with clear photos, consistent formats and helpful commentary, your grid starts to tell a simple story: this is what you sell, where you work and how you help. That is the foundation of a personal brand that feels real, even without a big production budget.
If you’d like more tips, specific to using Instagram to build your brand, try Property Finder’s Guide, Instagram: Practical Tips to Grow Your Real Estate Business.
Short action checklist for agents
To turn this into daily practice, keep the next steps simple:
- Build a reusable shot list you bring to every listing so you never walk in guessing what to capture. Property Finder’s guide, From Listing to Lifestyle: Crafting Video Tours that Sell in 60 Seconds, provides a great walkthrough on building out your shot list.
- Pick one editing app, and commit to a single, consistent look for all your photos.
- Block a 1–2 hour “lifestyle shoot” with a colleague or friend to capture reusable images of you working in real homes and communities.
- Review your last nine Instagram posts and ask, “Do these clearly show what I sell and where I specialise?” If the answer is no, start replacing them with new, on-brand photos from your updated shot list.
Key takeaways
Strong visual branding is now part of the job for agents in Dubai, not an optional extra. A simple shot list, smart use of natural light and angles, and one consistent editing style can make your listings look more professional across Property Finder and social channels. When you combine clear property, neighbourhood and lifestyle images with a steady Instagram presence, you help buyers see both the homes you represent and the kind of agent you are. Over time, that consistency turns casual scrollers into warm leads who already feel they know and trust your work.
If you’re looking for more tips on building your brand, check out Property Finder’s article, Marketing Your Real Estate Agency: Branding and Identity.


 Login with your PF Expert account