Some sounds spark smiles, while others slowly sap your spirit. From the traffic trailing along Sheikh Zayed Road to the late-night tunes of a nearby neighbour, or the distant drone of drilling, unwanted noise can unsettle your space. That’s where soundproofing steps in to restore serenity and safeguard your comfort.
So, how can you soundproof a room? This guide simplifies the science, showcasing smart yet simple solutions. With clever, cost-effective techniques and clear, concise DIY workflows, you’ll confidently uncover how to soundproof a room and cut down clattering noise, without complex construction.
- Understanding soundproofing: The basic concepts
- Budget-friendly soundproofing ideas
- Room-specific fixes: Low effort but practical
- DIY step-by-step soundproofing guides
- When to invest in professional solutions
- Cost vs. performance
- Key takeaways
- Frequently Asked Questions (FAQs)
Understanding soundproofing: The basic concepts
What is soundproofing?
Soundproofing stops the spread of unwanted sounds, keeping noise from slipping in or seeping out of a space. It’s different from sound absorption, which softens and shapes the sounds inside. By boosting sound absorption, you cut down on echoes and reverberations, creating clearer, calmer acoustics.
Soundproofing vs. sound absorption: A quick distinction
- Sound absorption relies on soft, spongy surfaces that soak up sound energy. Rugs, cushions, and acoustic foams are common choices that calm echoes and create clarity.
- Soundproofing, on the other hand, involves using heavy, dense materials or decoupling methods to block or interrupt sound transmission. It can be done via insulation or by incorporating resilient channels and extra drywall.
Types of noise
Airborne noise
It includes:
- Sound of people talking
- Music
- TV
- Traffic sound
These sounds leak through the gaps and travel through the air.
Impact noise
It includes:
- Footsteps
- Dropped objects
- Slamming of the doors
These are all vibrations. They travel through the building structure.
Common entry points for noise
- Source: Where is the noise produced? Is it your neighbour’s speaker? The street? A plumbing run?
- Entry point: Where does the sound enter your room from? Is it from a window, a door, a thin wall, or vents?
- Reflection point: Where does sound bounce inside your room? Usually, sound reflects between opposite walls, ceilings, and hard floors.
To learn how to soundproof a room, you must be aware of the noise entry points. Without this knowledge, you will struggle to apply the treatments correctly and achieve the desired outcome.
Budget-friendly soundproofing ideas
Free or really low-cost measures
- Hang heavy quilts or blankets over doors, windows, or thin walls.
- Move large pieces of furniture: bookcases or cabinets should be placed against shared walls.
- Fill your shelves with books and textiles to create a sense of depth and visual interest.
Affordable materials and DIY projects
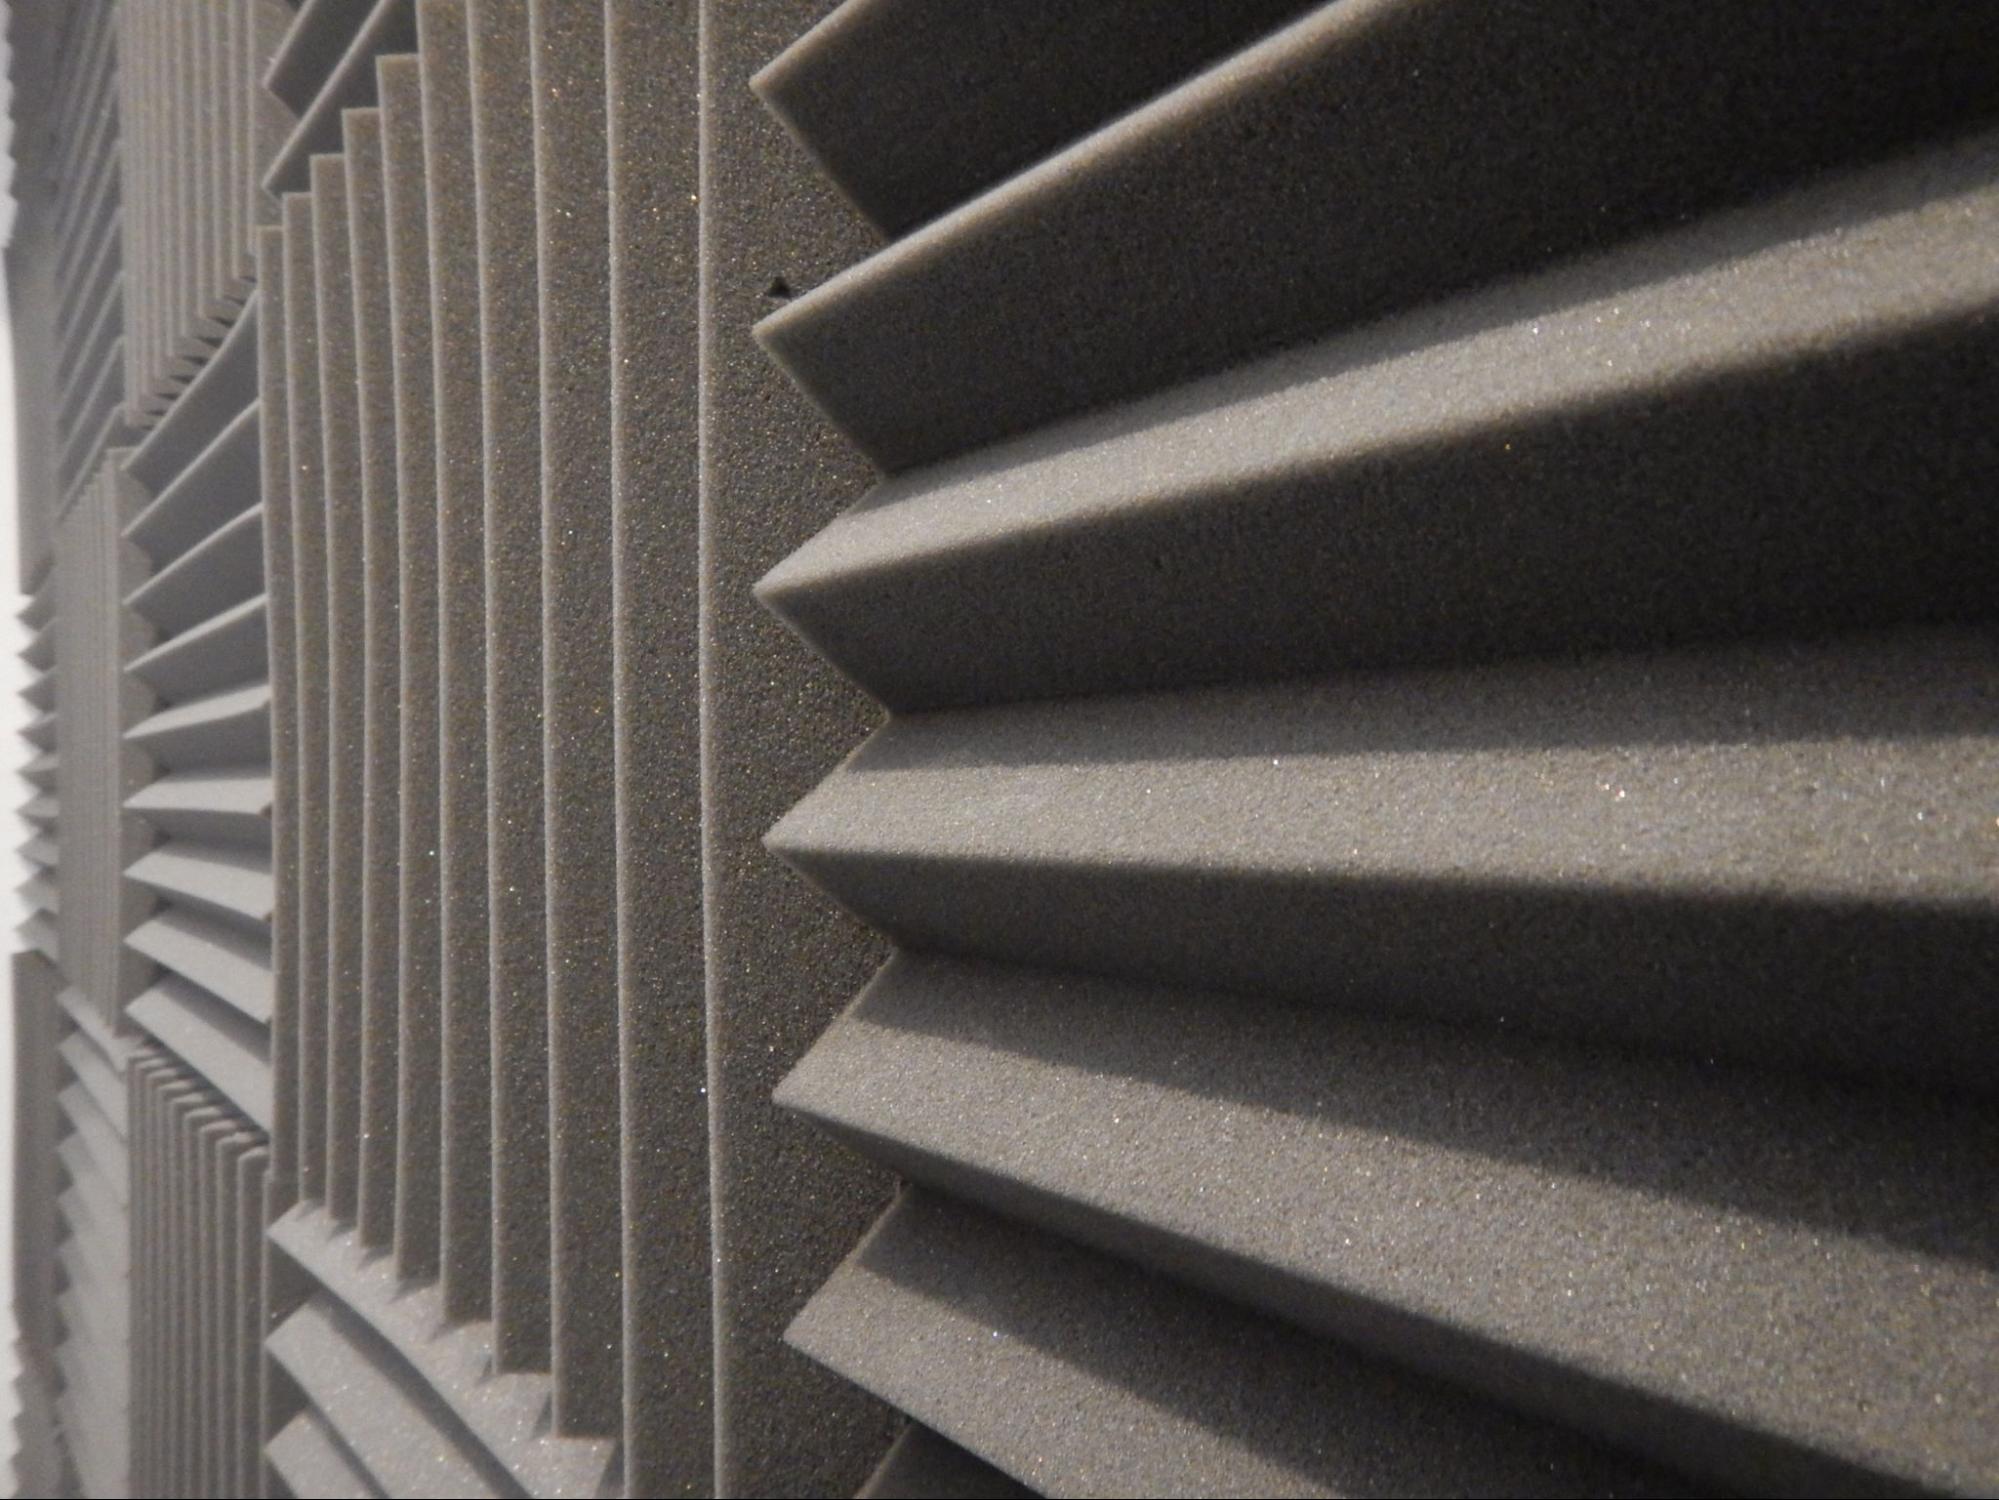
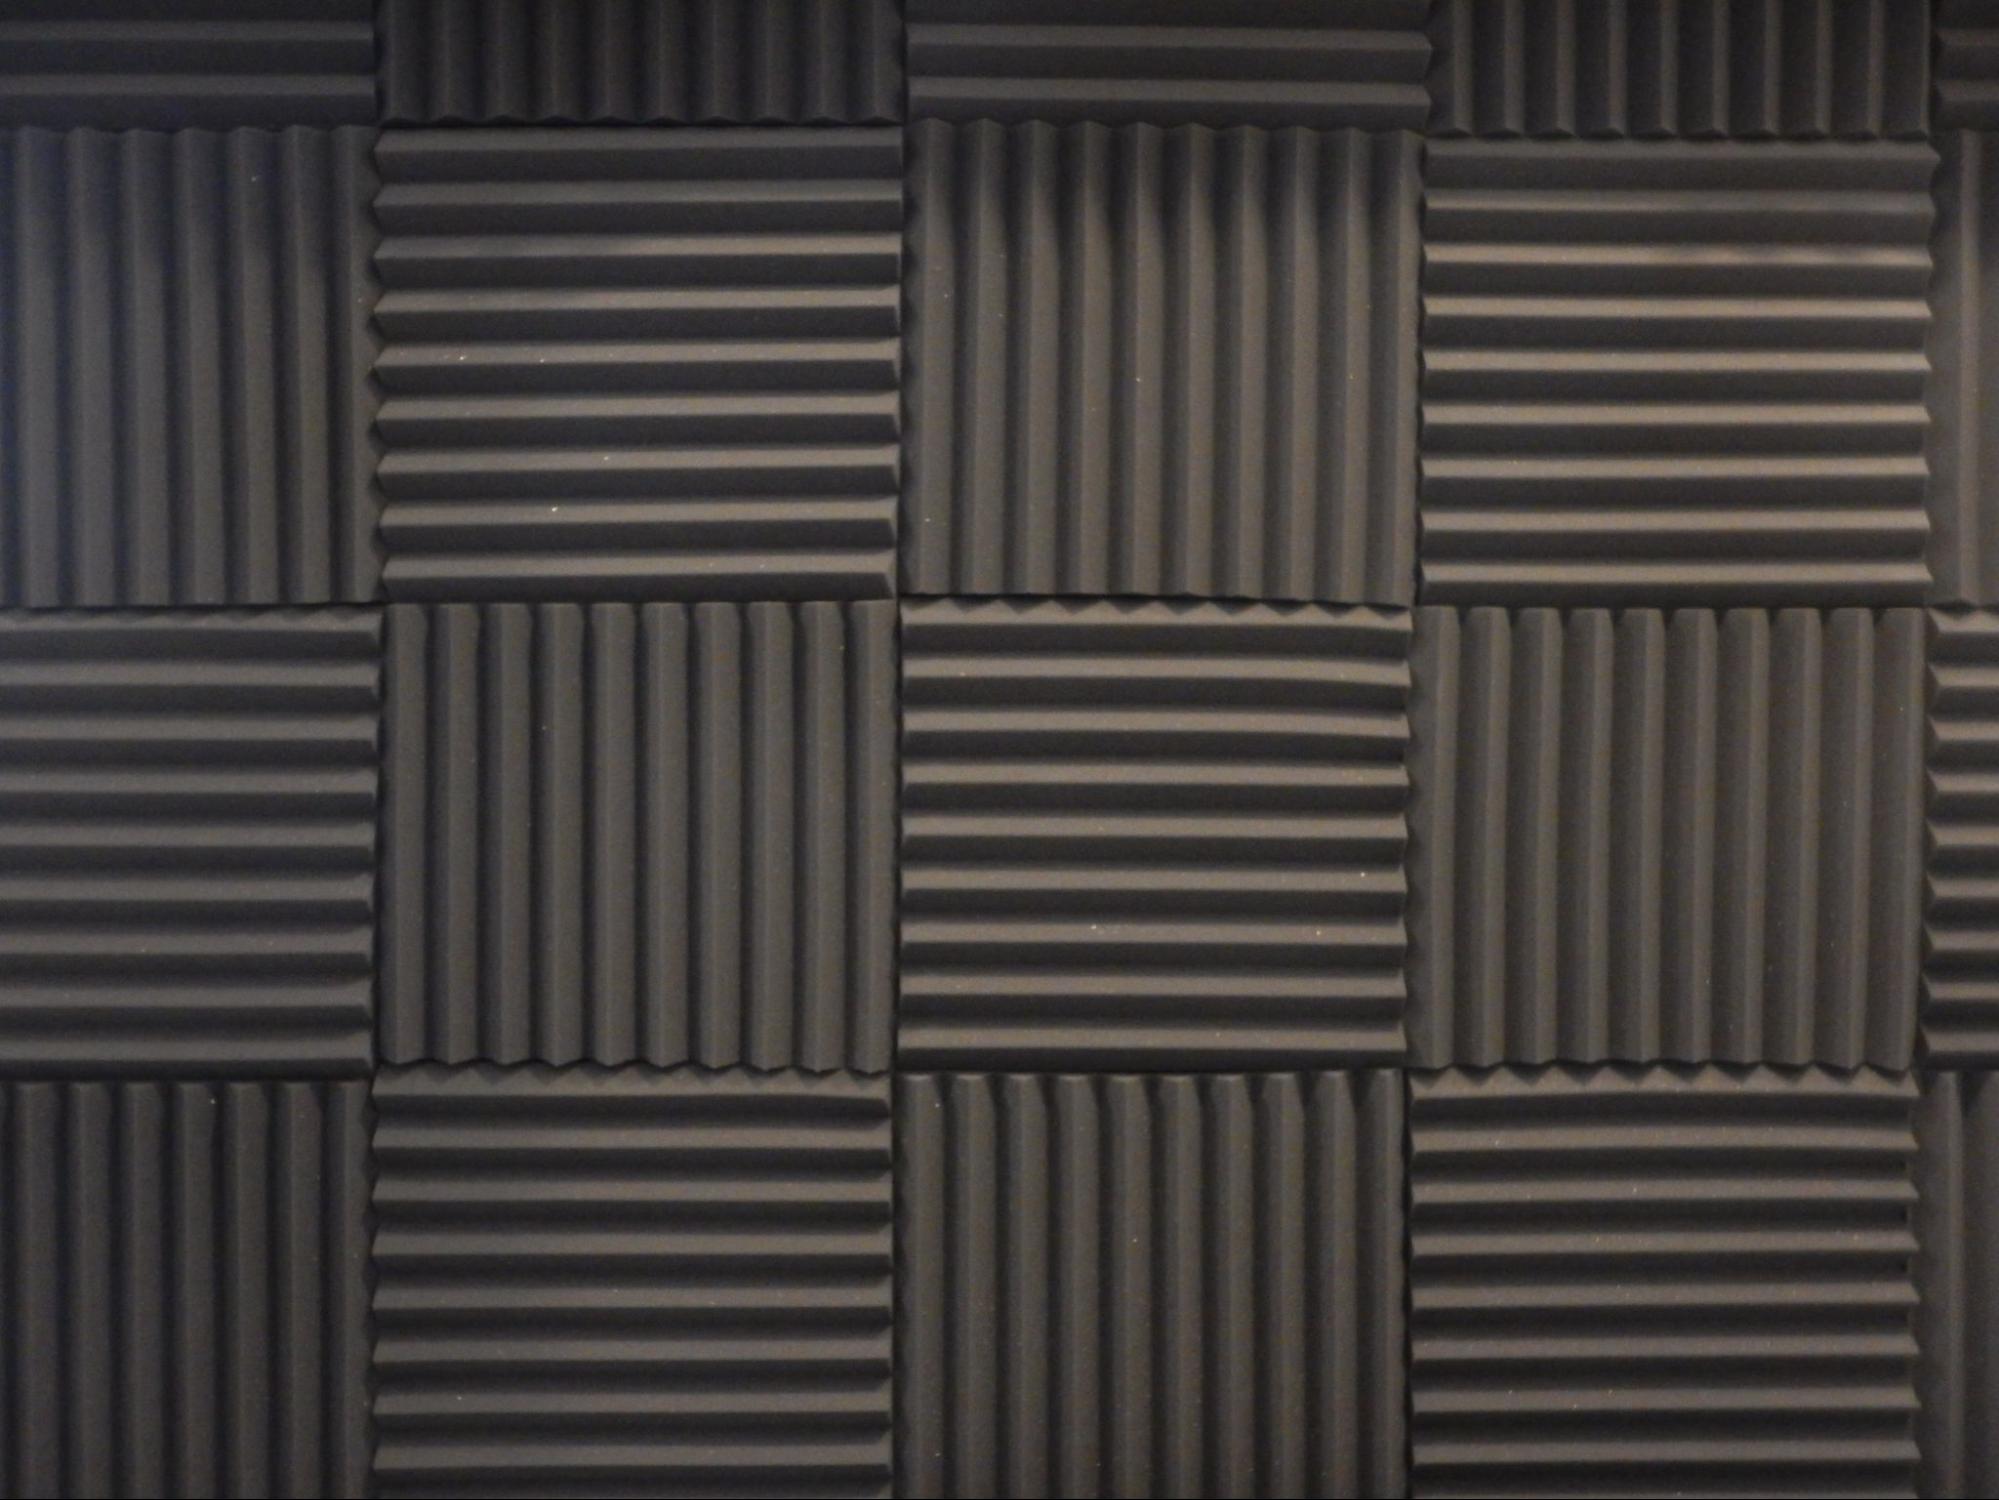
- Acoustic foam panels provide precise echo control and manage mid-to-high frequency absorption, with two-inch foam being the common choice for compact home studios. They also bring a better balance for booming bass or bass traps.
- Plush rugs and padded carpets cushion constant footfalls and cut floor reflections. Heavy curtains and comfortable couches create added absorption points, calming clatter within the room.
- Weatherstripping and door sweeps seal stubborn slits around frames, while moving blankets, fastened with hooks or Velcro, form flexible, temporary barriers.
Room-specific fixes: Low effort but practical
Doors
- Seal the perimeter with weatherstripping.
- Fit a door sweep or a U-shaped sweep at the bottom to block any gaps.
- Hang a moving blanket or an acoustic panel for additional mass.
Windows
- Use heavy curtains or blackout drapes to reduce external noise reflections.
- Build or buy removable window plugs (foam or insulation board) for short periods with high noise.
- Seal small gaps with acoustic caulking between the frame and wall.
Walls
- Put bookshelves and wardrobes against the shared walls.
- Hang tapestries or rugs.
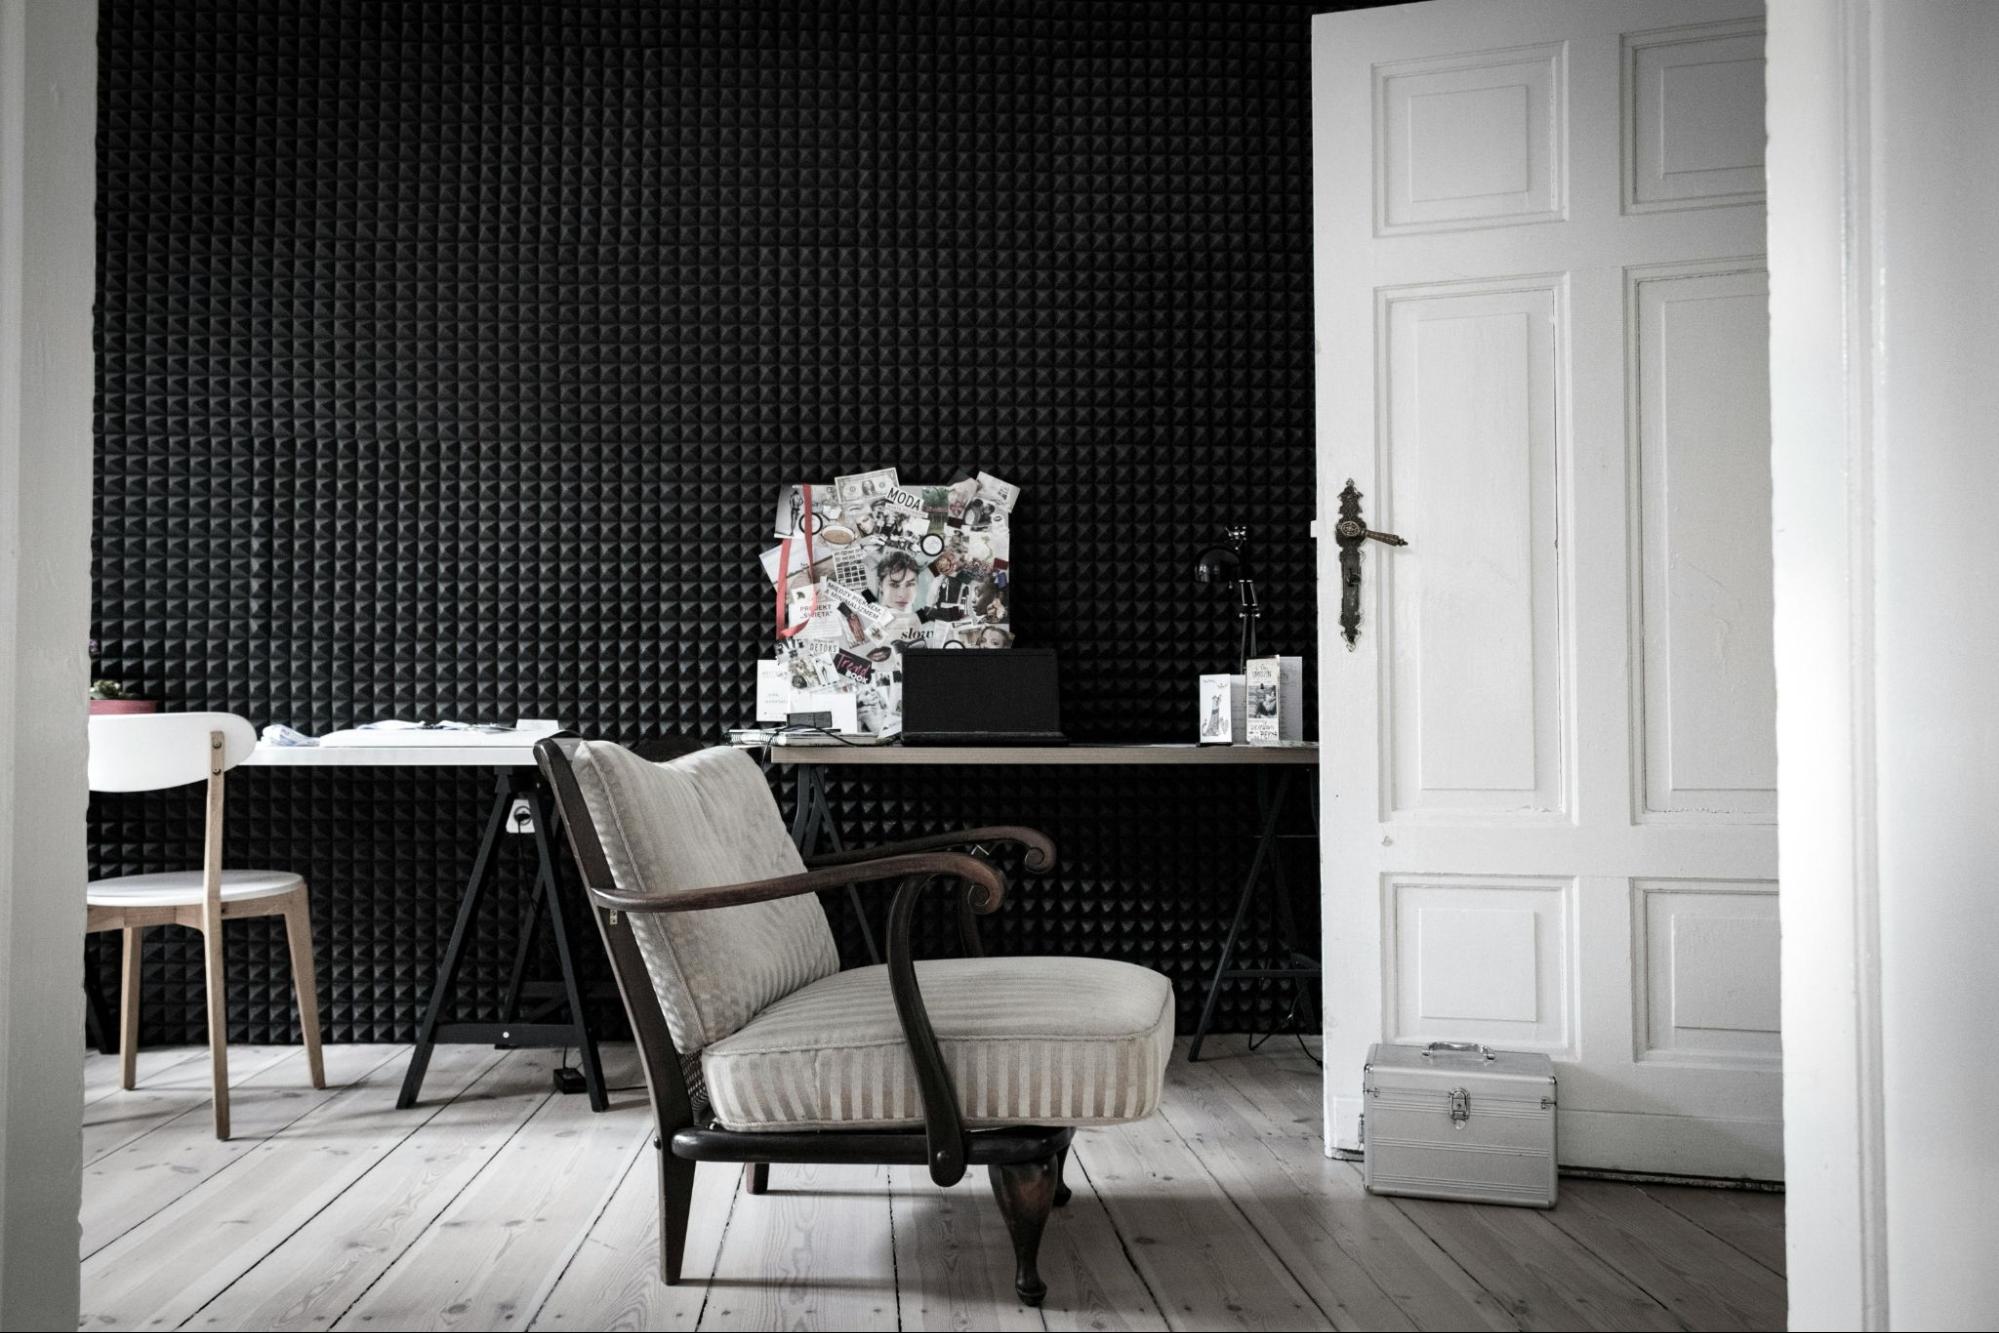
- Place foam panels at the strongest reflection spots – on the opposite side of the noise source and near the first reflection points.
Floors
- Lay the area rugs with dense pads.
- Add layered mats under the workout equipment
- For renovations, consider soundproofing the underlayment products that match your flooring type.
Ceilings
- Temporarily tack up a few extra blankets or acoustic foam tiles.
- For a stronger fix, use suspended baffles or a secondary ceiling with insulation in the cavity.
Pipes & ducts
Wrap the noisy pipe runs with a pipe wrap system that comprises:
- Sound barrier
- Foam backing
Peel-and-stick products can streamline this DIY task.
DIY step-by-step soundproofing guides
All these steps rely on simple supplies and standard household tools. If you’re renting, stick to smart, removable solutions that safeguard surfaces.
How to soundproof with blankets
Materials & tools required
- Thick moving blankets or heavy quilts
- Velcro strips or heavy-duty hooks
- Nails or finishing tacks (if permitted)
- Scissors
Steps to follow
- Identify the target area: Door, window, shared wall or a specific reflection surface.
- Select suitable blankets: Dense, durable moving pads or thick, trusty winter quilts prove most protective.
- Mounting method: For renters, Velcro strips work well, loop side on the wall, hook side on the blanket, or try removable adhesive hooks for hassle-free hanging. For a more permanent placement, sturdy screws with washers will safely support the weight.
- Overlap edges: Ensure blankets overlap by several centimetres so sound cannot leak through seams.
- Layering: Load the wall with layers, hang multiple blankets for stronger sound absorption, and press heavy furniture against them to add more mass and muffle noise.
- Test: Try the sound test by having someone create the clatter while you listen inside. Then, tweak the setup by tightening overlaps and covering gaps for clearer, quieter results.
Tips: Blankets manage mid-to-high frequencies more than low bass. They’re quick, cost-effective, and conveniently removable.
Installing weatherstripping and door sweeps
Materials & tools required
- Adhesive weatherstrip
- U-shaped or brush door sweep
- Measuring tape
- Scissors
- Screwdriver
- Cleaning cloth
Steps to follow
- Clean the frame: Clear away dust and dated adhesive so the new seal sticks securely.
- Measure mindfully: Mark the perimeter precisely to guide where the weatherstrip should sit.
- Apply weatherstripping: Peel, press, and place it firmly along the jambs and top edge.
- Fit the door sweep: Fix the sweep at the bottom, trimming to size if needed. For automatic sweeps, follow the manufacturer’s mounting method.
- Seal corners with acoustical caulk: For stubborn gaps, run a bead of acoustical sealant around the frame edges.
Tips: Weatherstripping stops most airborne leaks. Combine it with a sweep for best results.
Applying soundproof foam panels
Materials & tools required
- Acoustic foam panels
- Spray adhesive or double-sided mounting tape
- Measuring tape
- Optional Z-clips/impaling clips
Steps to follow
- Plan placement: Pinpoint problem points, opposite the source and at primary reflection spots.
- Use the mirror method: move a mirror along the wall while seated, then mark where the source shows.
- Pick thickness: Two-inch foam is the popular pick, while bulkier bass traps tame troublesome low tones.
- Mount method: For a provisional mount, press with tape or Velcro. For a permanent mount, choose Z-clips or impaling clips.
- Space smartly: Spread panels strategically; full saturation isn’t necessary, while corners and central wall heights should stay the focus.
- Polish finish: Press edges properly to prevent gaps. For panels you plan to remove, protect them with packing tape for painless detachment.
Pro tip: Foam fights flutter and fixes fidelity inside, but falters with forceful, low-frequency noise from outside.
Layering rugs and furniture for absorption
Materials & tools required
- Rug pads
- Thick area rugs
- Rubber mats
- Furniture moving pads
Steps to follow
- Identify impact areas: Focus on floors with reflective finishes, like open living spaces, tiles, or hardwood, especially where furnishings are few.
- Choose cushioned rugs: Rugs with heavy padded underlays create comfort, cut clatter, and curb sound transfer.
- Combine layers: For stubborn impact noise, consider stacking rubber gym mats beneath rugs or layered underlays for stronger suppression.
- Furniture fix: Shift sofas, shelves, and soft seating to shorten sound paths and shield noisy walls.
Pro tip: For upstairs impacts, invest in a premium padded underlay beneath new flooring or a suspended floor system for a stronger, long-lasting solution.
When to invest in professional solutions
DIY works for the most common issues. However, call a professional if you face:
- Persistent structure-borne vibration that travels through joists.
- Very low frequency noise (bass) that pulsed through the walls.
- Complex multi-room leakage requiring architectural changes.
A specialist can perform acoustic analysis and propose solutions like:
- Decoupled framing
- Professional insulation systems
- Bespoke doors
- Glazing
Cost vs. performance
Soft materials (blankets, rugs, curtains)
- Great for mid to high frequency and echoes
- Cheap
- Renter-friendly
Sealing (Weatherstripping, acoustic caulk)
- Terrific return on investment
- Helps shut the most common leakage paths
Mass and decoupling (extra layers, resilient channels, insulation)
- Requires more work
- Works best against airborne and impact noise
Key takeaways
To tackle troubling noise, start by spotting sound sources and studying surfaces that reflect and reverberate. In bustling cities like Dubai, daily disturbances can drift in through doors, windows, and walls, making it vital to identify these entry points before picking a plan of action.
Once located, lean on cheap and changeable choices. Rugs can reduce reverberations, blankets can buffer barriers, and furniture can form flexible filters that block and break sound paths. Even simple sealing of gaps can bring soothing silence. Acoustic foam further fights flutter and echo, though it falters with deep bass. In busy districts of Abu Dhabi, such small steps can make apartment living far more peaceful.
For more serious and stubborn sounds, consider decoupling structures and adding mass for lasting relief. These methods provide the most sustainable sound solutions, but may not suit renters. If you’re leasing, stick to safe, simple, and removable remedies that silence without surface damage. This balance ensures calm, comfort, and clarity across every corner of your home.
Frequently Asked Questions (FAQs)
Foam panels are great for fighting flutter and echo inside, but for blocking outside noise you’ll need added mass.
Yes, blankets buffer and break airborne noise, while also reducing room echo. They’re quick, cost-effective, and completely reversible.
To stop sound slipping beneath the door, fit a sweep or stopper and seal the frame with weatherstripping.
The cheapest way to soundproof a window is with a removable plug, a pocket-friendly and non-permanent solution.
Use Velcro-mounted blankets, removable foam panels, rugs with pads and furniture placement to avoid damage.


